
A Compact Apartment Bathroom With a Clear Brief
The client was an apartment owner in Berea, Durban, looking to update a small bathroom that felt tight around the vanity. The old mirror was plain and heavy-looking, and the lighting did not help much early in the morning or at night. The brief was simple: keep the room neat, improve the light over the basin, and make the wall feel less crowded.
In spaces like this, every millimetre matters. The mirror had to suit the existing vanity width, sit cleanly against tiled walls, and work with the bathroom layout without requiring major changes. The client also wanted a finish that would suit a modern apartment rather than a bulky feature that would dominate the room.
Site Checks, Sizes And The Main Constraints
We carried out site measurements before supply so the mirror could be sized correctly first time. The bathroom had limited wall depth, a basin close to one side, and a ceiling height that meant the mirror could not be too tall. There was also the usual apartment challenge of keeping disruption low, because access through the building had to be managed carefully.
- Mirror size selected to suit the vanity and keep the room open
- Low-profile LED frame to avoid a bulky edge on the wall
- Electrical connection planned around the existing bathroom circuit
- Moisture-friendly finish suited to Durban humidity
- Installation arranged to reduce time on site and noise in the unit
We also checked for practical issues such as switch position, reflected light on the basin area, and whether the wall finish would need any extra support. The apartment already had tiled walls, so the work needed to be neat and tidy with no unnecessary cutouts.
What We Supplied And How It Went In
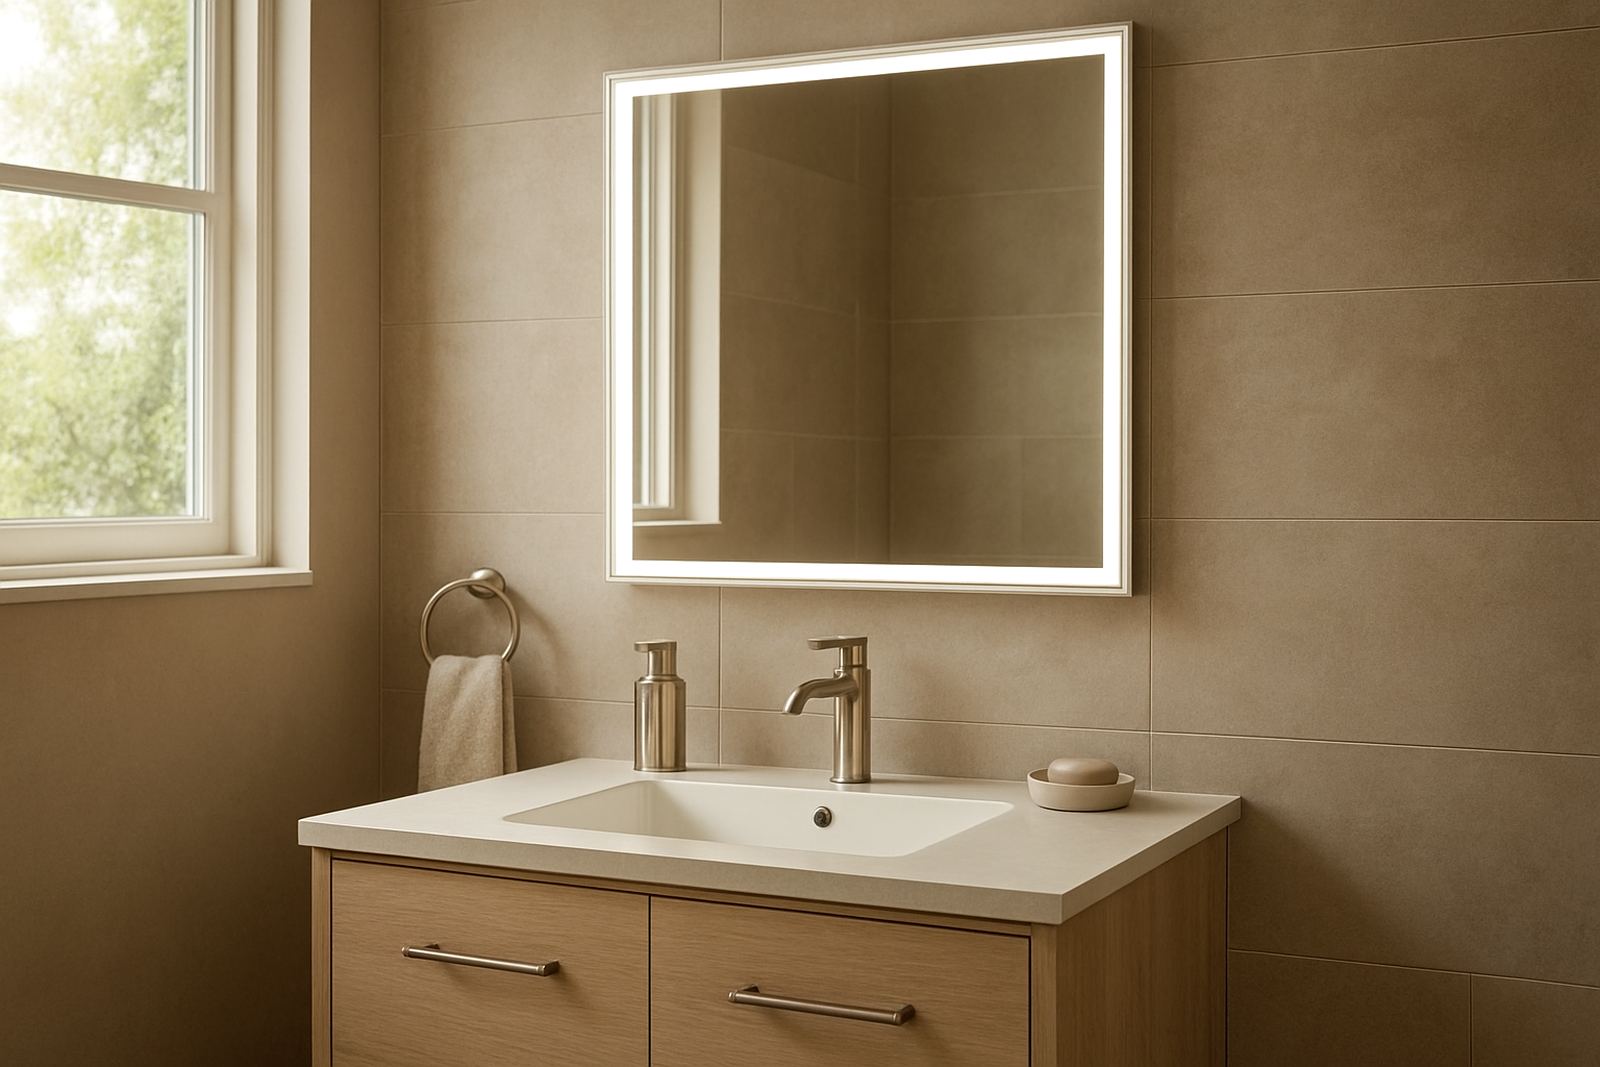
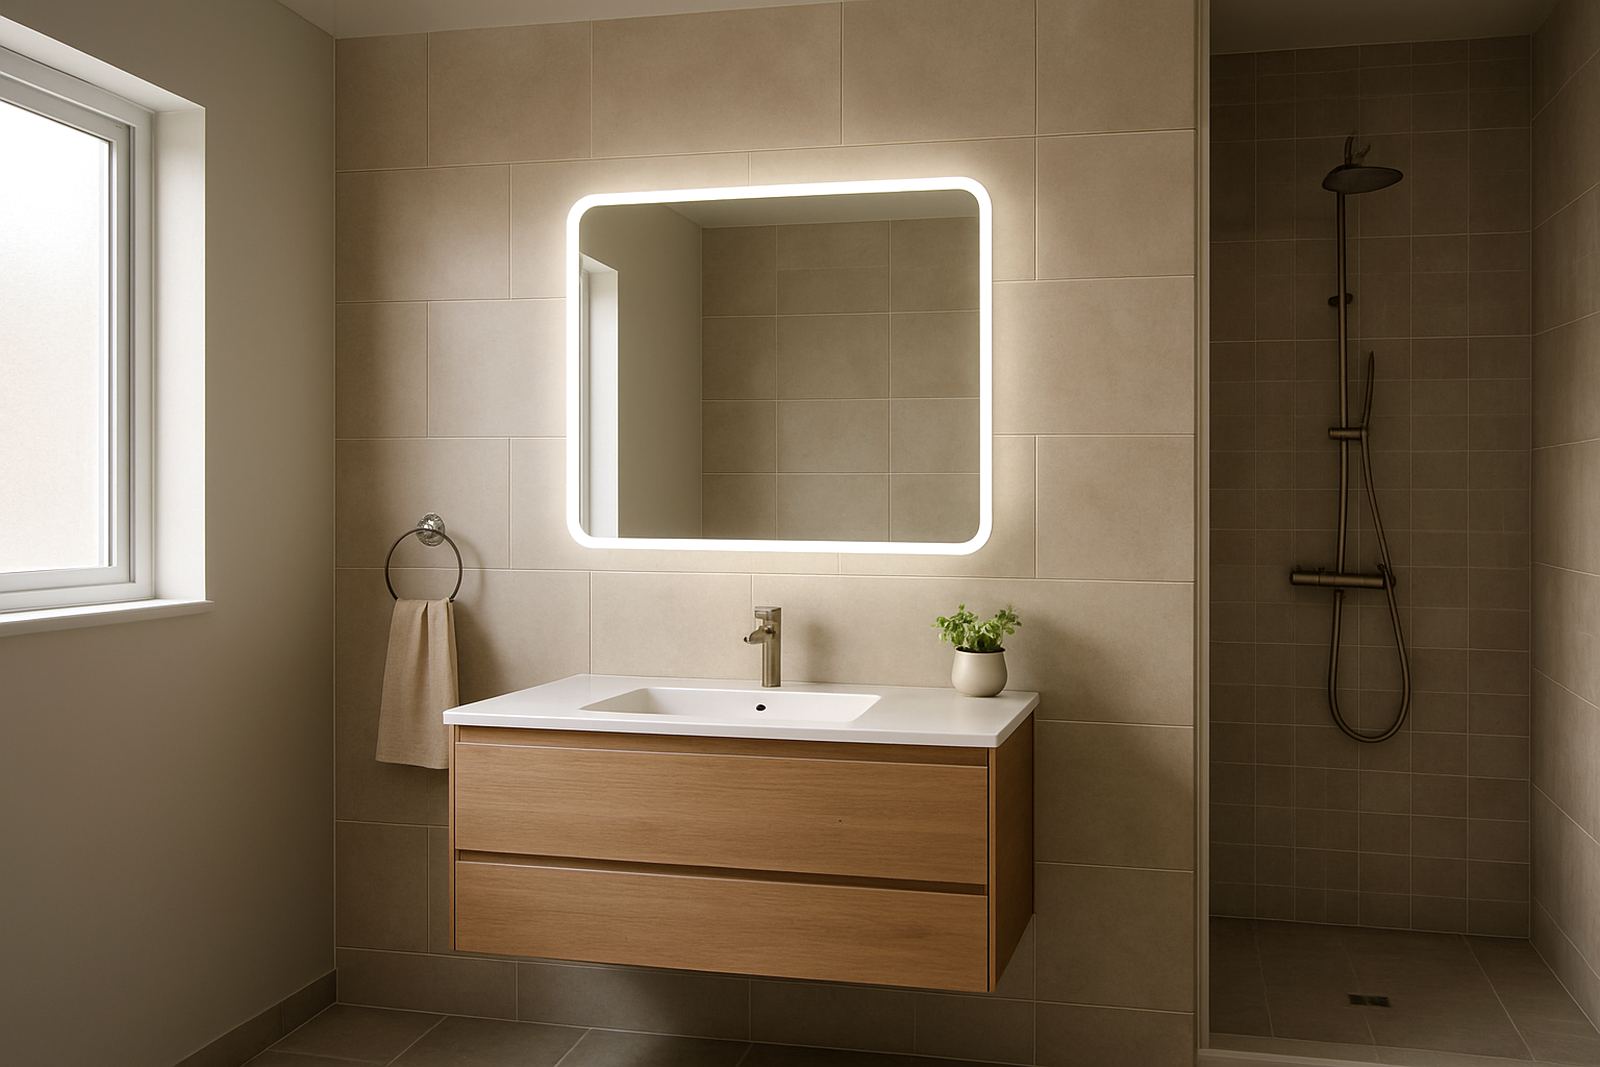
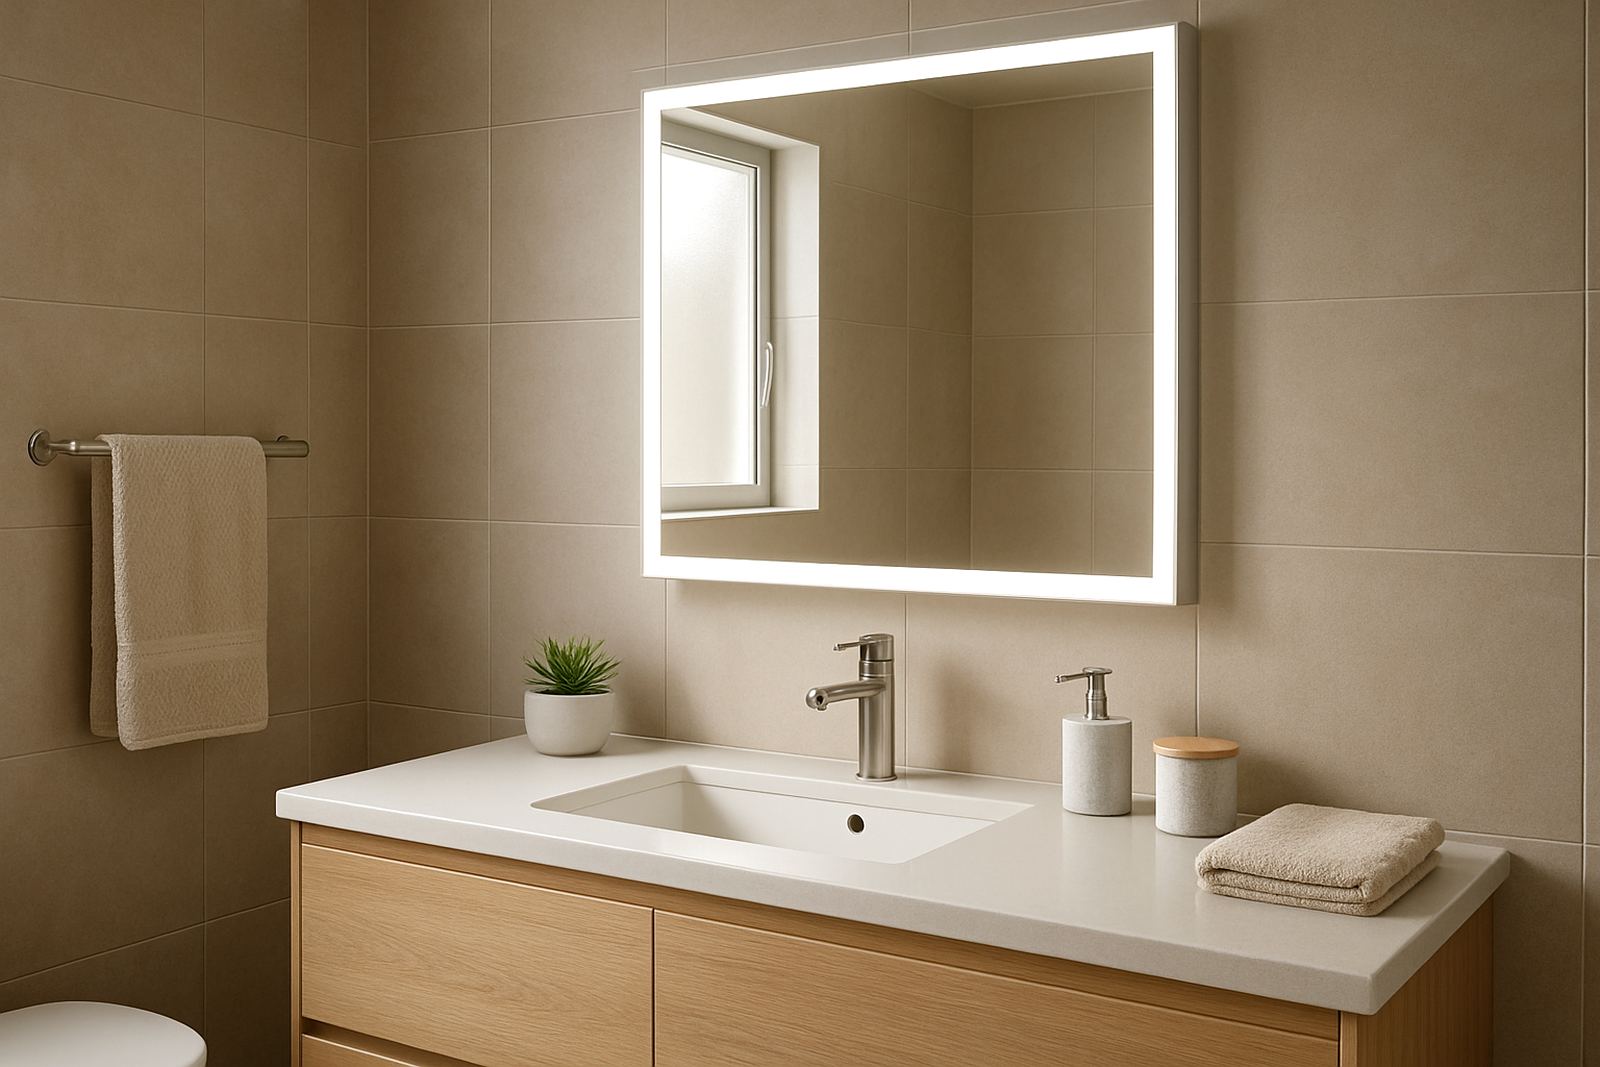
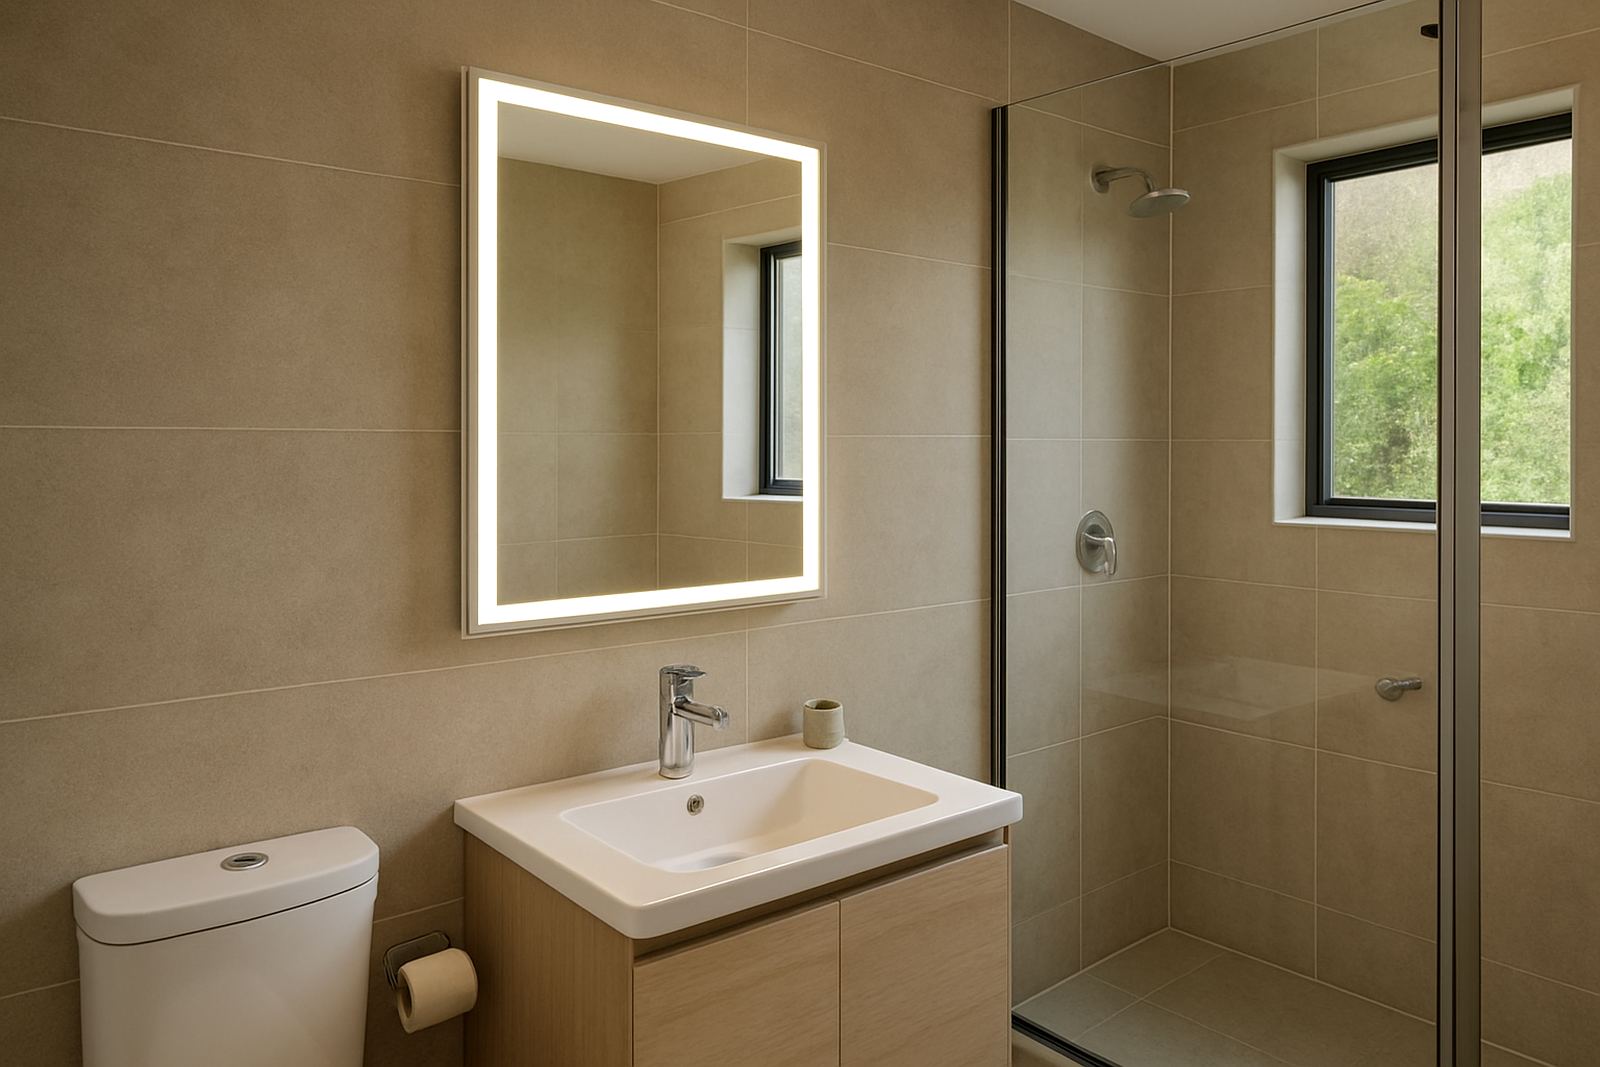
We supplied a slim LED bathroom mirror with a clean framed edge, even illumination, and a demister function for everyday use. The unit was sized to suit the vanity area and chosen to give enough face light without flooding the room. The LED layout was specified to provide good visibility for shaving, make-up, and general washing up routines.
The installation was completed by our team in one visit once the measurements and layout were approved. Johan and the installation team fixed the mirror securely, connected the electrical supply, tested the lighting, and checked the demister operation. We made sure the mirror sat level against the wall and that the cable entry was tucked away neatly. The final result was a clean fit with no awkward gaps or busy add-ons.
- Slim LED mirror supplied to match the vanity width
- Integrated lighting installed for daily grooming use
- Demister function included for steam-heavy bathroom conditions
- Electrical connection completed and tested on site
- Fixing and alignment checked against tile lines
Timeline For The Apartment Update
The project ran over roughly two weeks from first enquiry to final handover. Week one covered the client brief, the site measurement, and confirmation of the mirror size and finish. Once the order was approved, we prepared the unit and booked the fitting around the apartment access requirements.
Week two covered delivery, installation, and final testing. Because the bathroom was compact and the work was straightforward, the actual site time was kept short. That suited the client and also reduced disruption in the building. The process moved well because the measurements were accurate and the electrical point was already in a suitable position. There was no need for a drawn-out upgrade, which kept the job cost under control.
Results In A Smaller Space
The finished bathroom felt lighter and more open straight away. The slim profile of the mirror reduced visual clutter, while the integrated LED light gave a cleaner reflection across the vanity area. In a small apartment bathroom, that change makes a real difference because the wall no longer feels crowded by a dark or oversized mirror.
The client also gained better day-to-day comfort. The demister helped after showers, and the lighting was more practical for early mornings when natural light was limited. The mirror gave the bathroom a more current look without needing a full remodel. It suited the room, and more important, it suited the way the client actually uses the space.
What We Would Do Again On A Similar Job
This project confirmed a few good habits we follow on apartment bathroom work. First, measure carefully and keep the mirror proportions modest enough for the room. Second, keep wiring decisions simple where possible, because neat planning saves time and keeps the final finish cleaner. Third, choose a mirror with a slim frame so the wall space is used well rather than overwhelmed.
For future Berea or Durban apartment upgrades, we would follow the same approach: confirm the vanity width, check the electrical point, allow for steam and humidity, and recommend a mirror that gives useful light without adding bulk. It is also worth planning for aftercare from the start, because apartment clients often want a solution that stays easy to maintain over time.
- Measure first, then match the mirror to the vanity
- Keep the frame slim for compact bathrooms
- Allow for steam, moisture, and coastal humidity
- Test the lighting and demister before handover
- Leave the wall finish neat for easy cleaning
Key facts
| Project | Berea Apartment bathroom mirror upgrade |
|---|---|
| Location | Berea, Durban |
| Mirror type | Slim LED-lit bathroom mirror with demister |
| Approximate timeline | 2 weeks from enquiry to handover |
| Work included | Site measurements, installation, electrical connection and testing |
| Best fit for | Compact apartment bathrooms and vanity updates |